Join the JOANN community and explore how-to projects or create your own. Get exclusive coupons and deals, and manage your shopping list on the go.
What are you waiting for?
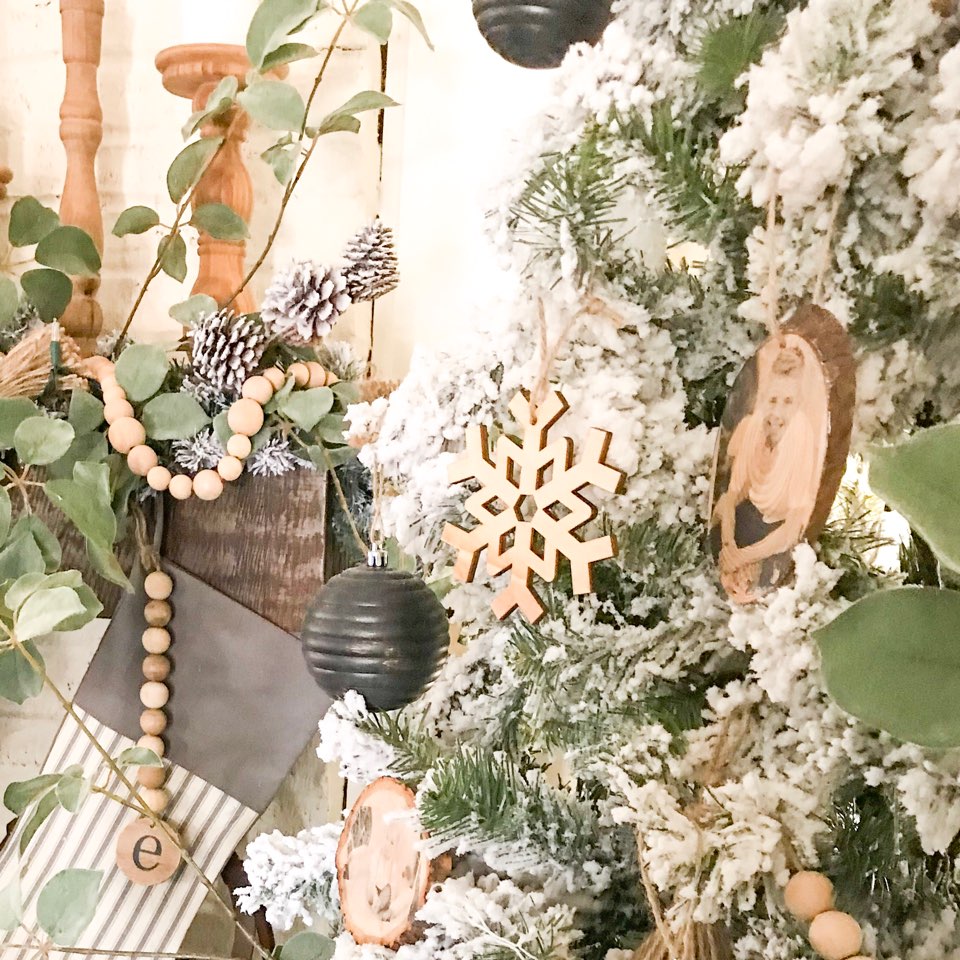
DIY Wood Photo Transfer Ornament
This easy DIY wood photo transfer ornaments will be a beautiful and personal touch to your tree!
Want to see more great how-to videos? Try the new JOANN app.
Instructions
-
Step 1
 Gather your materials. Make sure your pictures are printed on computer paper with a laser printer.
 -
Step 2
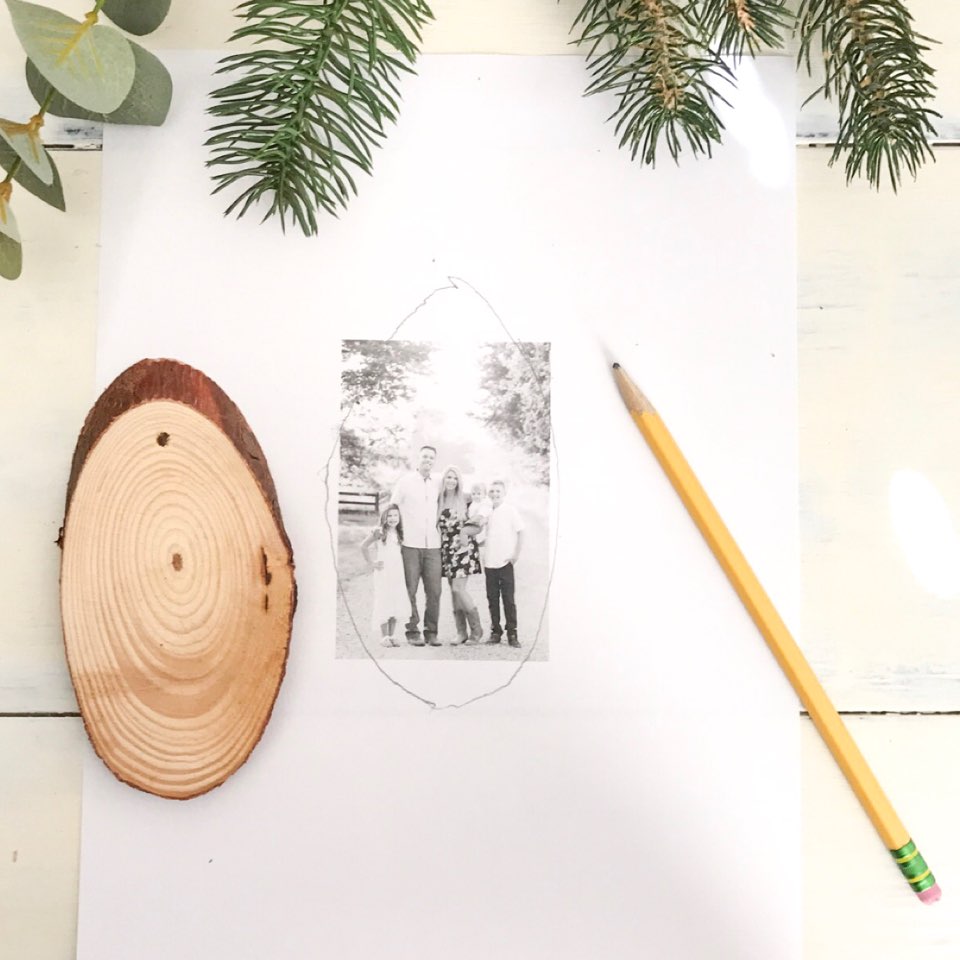 Trace your photo to match your wood slice.
 -
Step 3
 Cut out your photo.
 -
Step 4
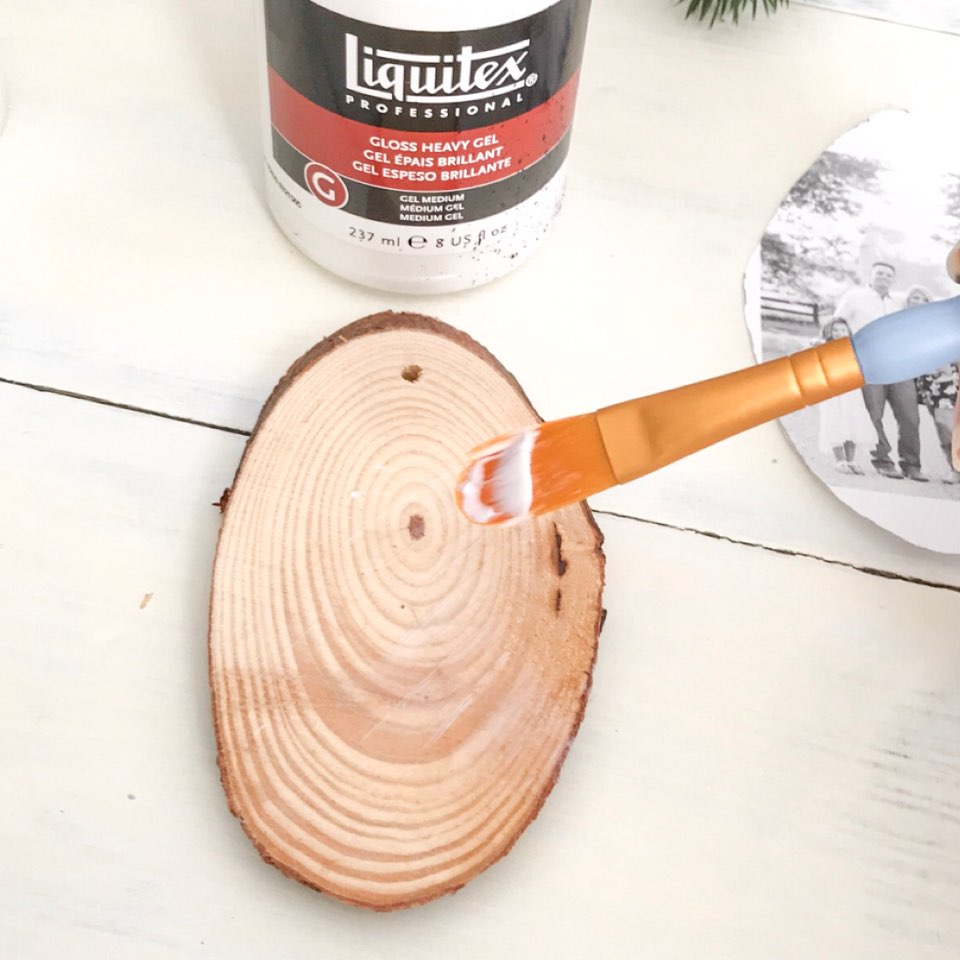 Coat your wood with the medium gel.
 -
Step 5
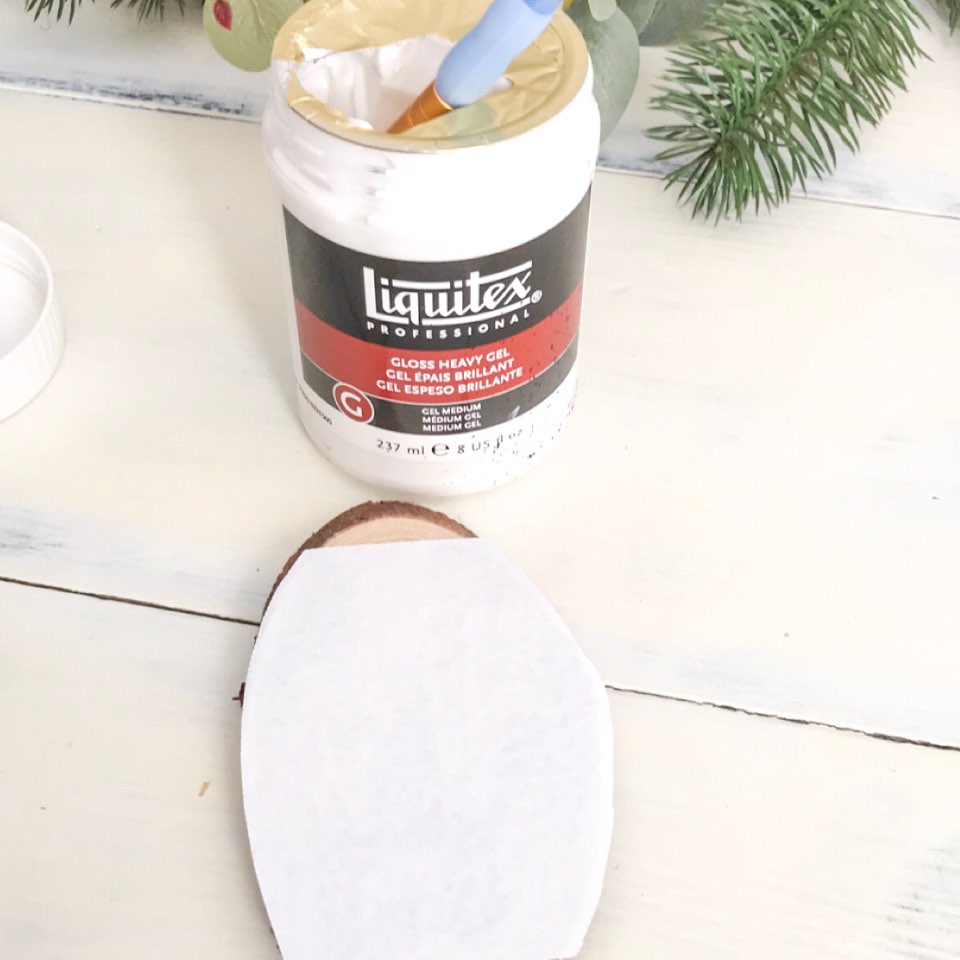 Place your photo face-down on the wood making sure to smooth out the bubbles. Allow this to sit overnight.
 -
Step 6
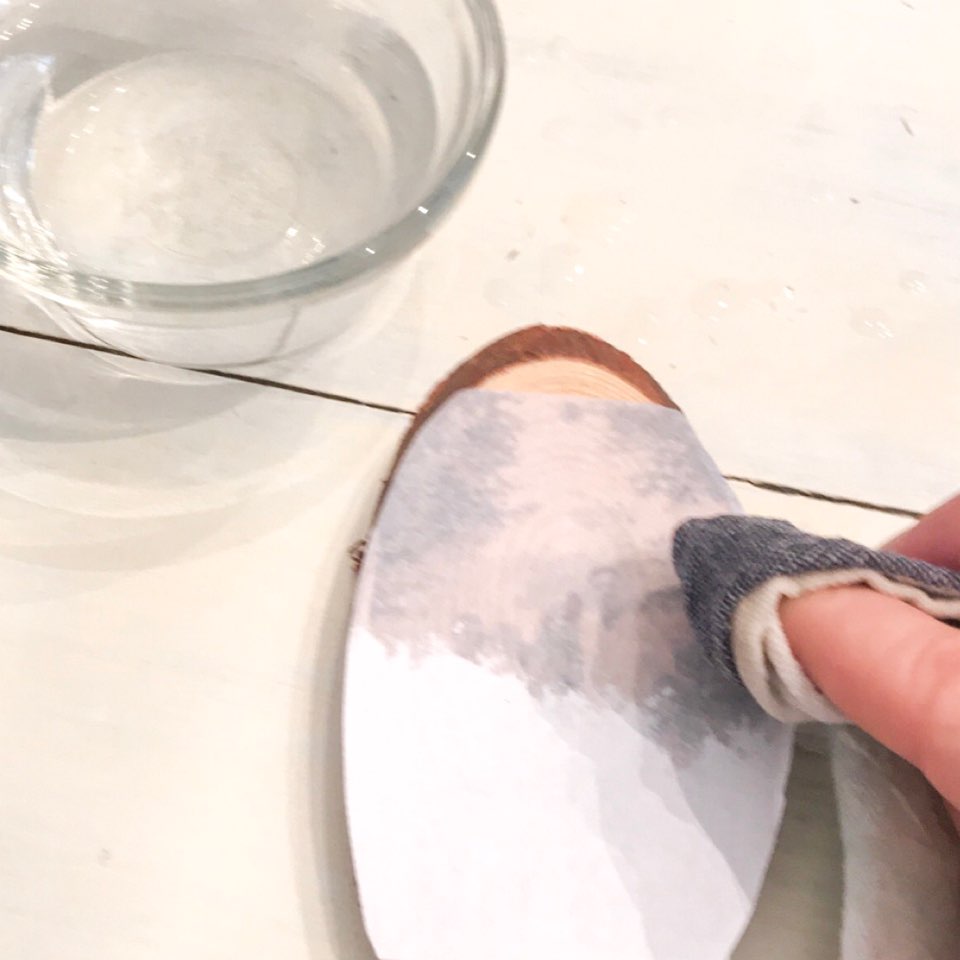 The next morning, use a wet washcloth to dampen the photo. Rub the photo very gently until the paper starts to come off.
 -
Step 7
 Continue to carefully and gently rub off the paper in layers. Do this until all of the paper is gone. Be careful not to rub too hard or the image could come off too.
 -
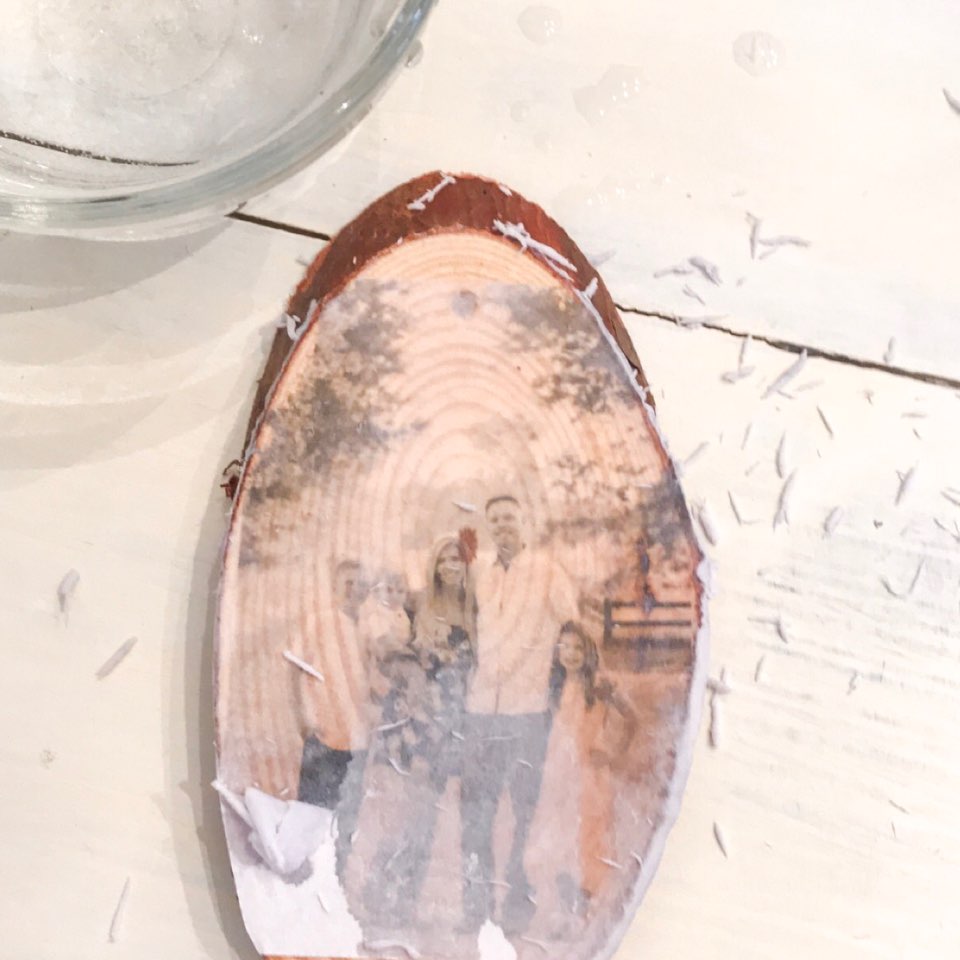
Step 8
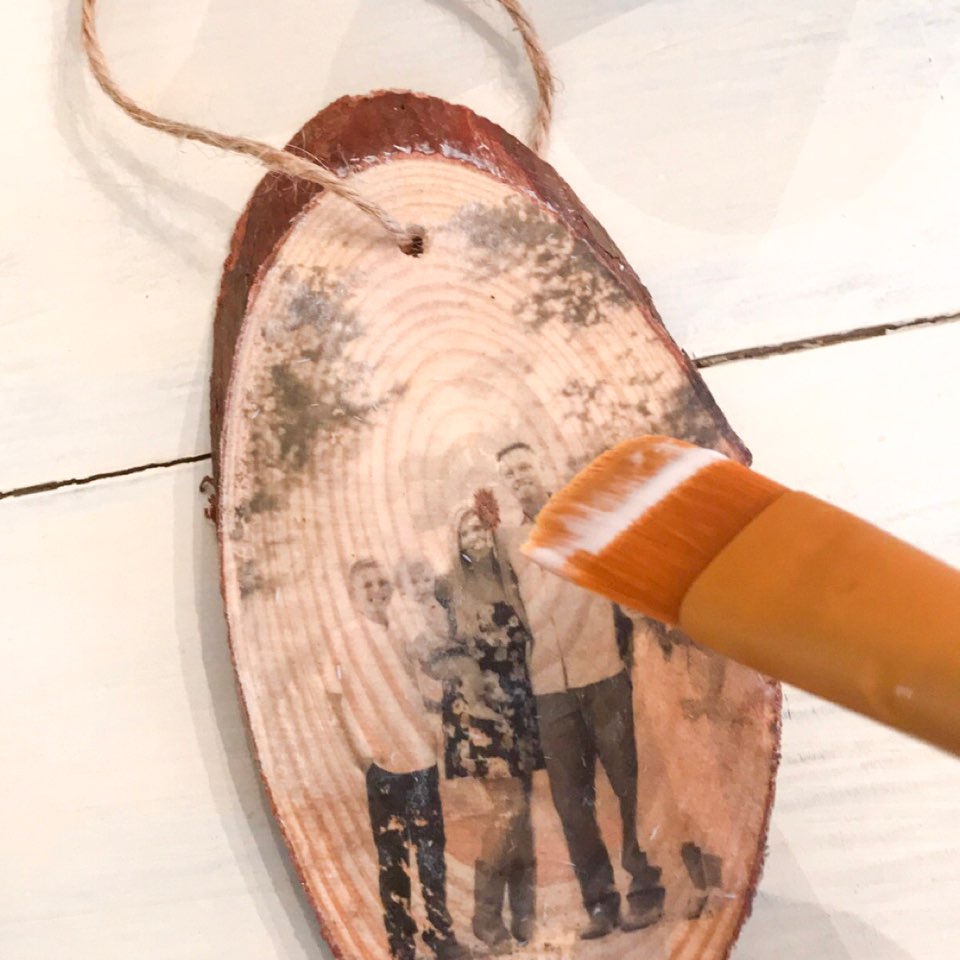 Once the paper is all rubbed off, paint on a coat of Mod Podge and allow it to dry.
 -
Step 9
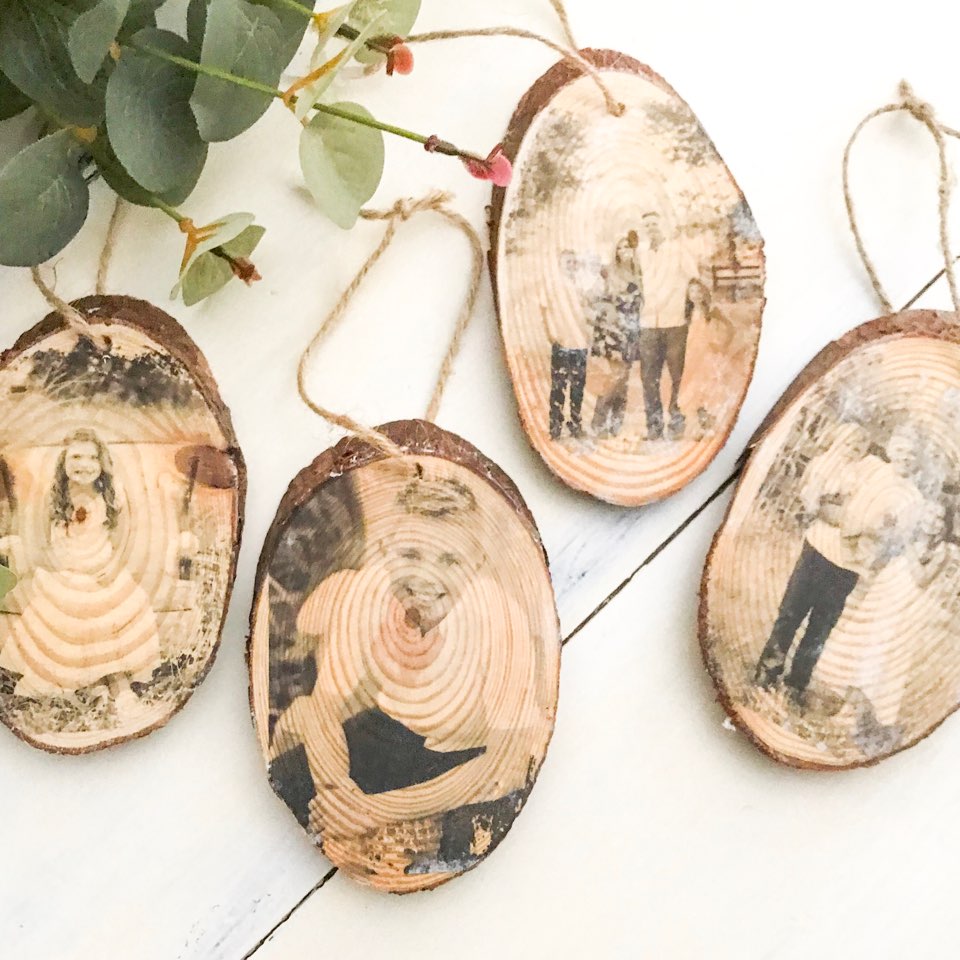 Done! Now you have beautiful and meaningful ornaments with a vintage look.
- Supplies
- Photos printed on computer paper with a laser printer
- Wood Slices
- Medium Gel
- Mod Podge
- Small Paint Brush
- Scissors
- Washcloth
- Burlap Twine
Get Inspired with JOANN