Join the JOANN community and explore how-to projects or create your own. Get exclusive coupons and deals, and manage your shopping list on the go.
What are you waiting for?
How to Make Painted Pumpkins
Learn how to make these wonderful and easy painted pumpkins.

Want to see more great how-to videos? Try the new JOANN app.
Instructions
-
Step 1
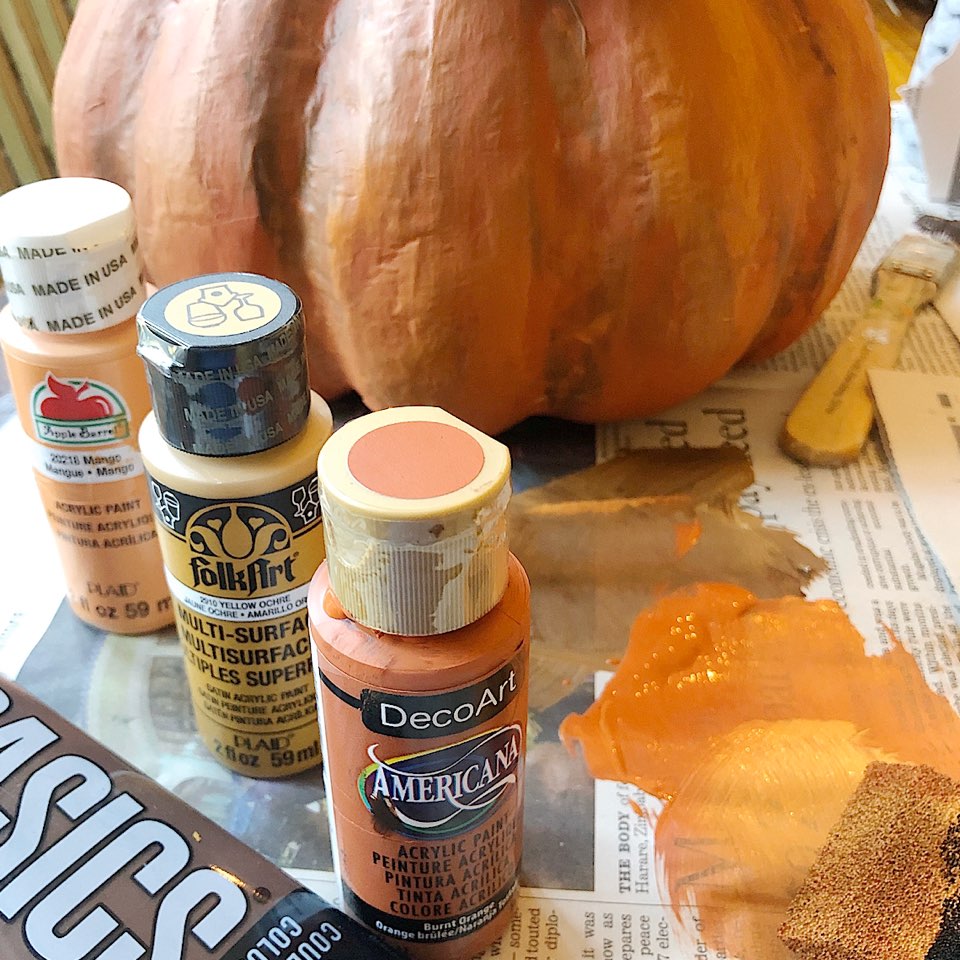 I selected four paint colors for my orange pumpkin. All were muted colors and were four tones from dark to light. The darkest brown was for shading and the stem.
 -
Step 2
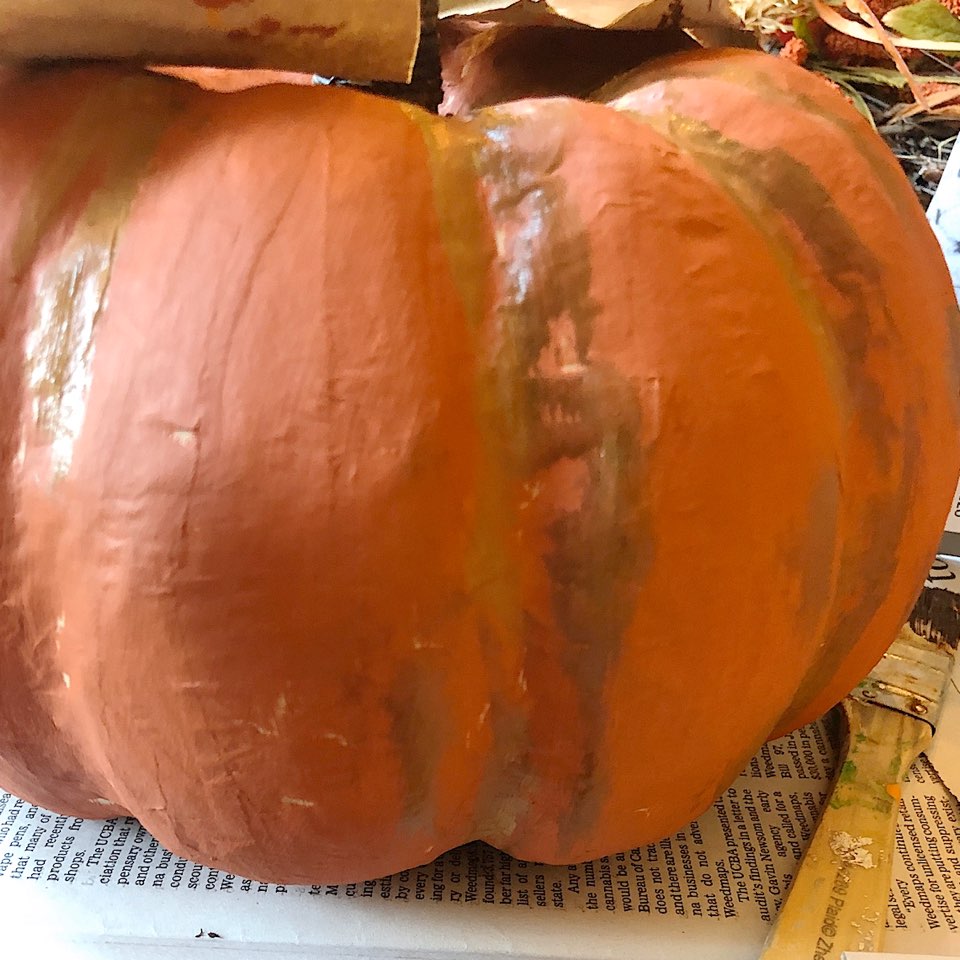 Paint the entire pumpkin the base color. I used orange. Once dry, go back and add the darker shading in the indented areas. Also paint the stem a dark brown.
 -
Step 3
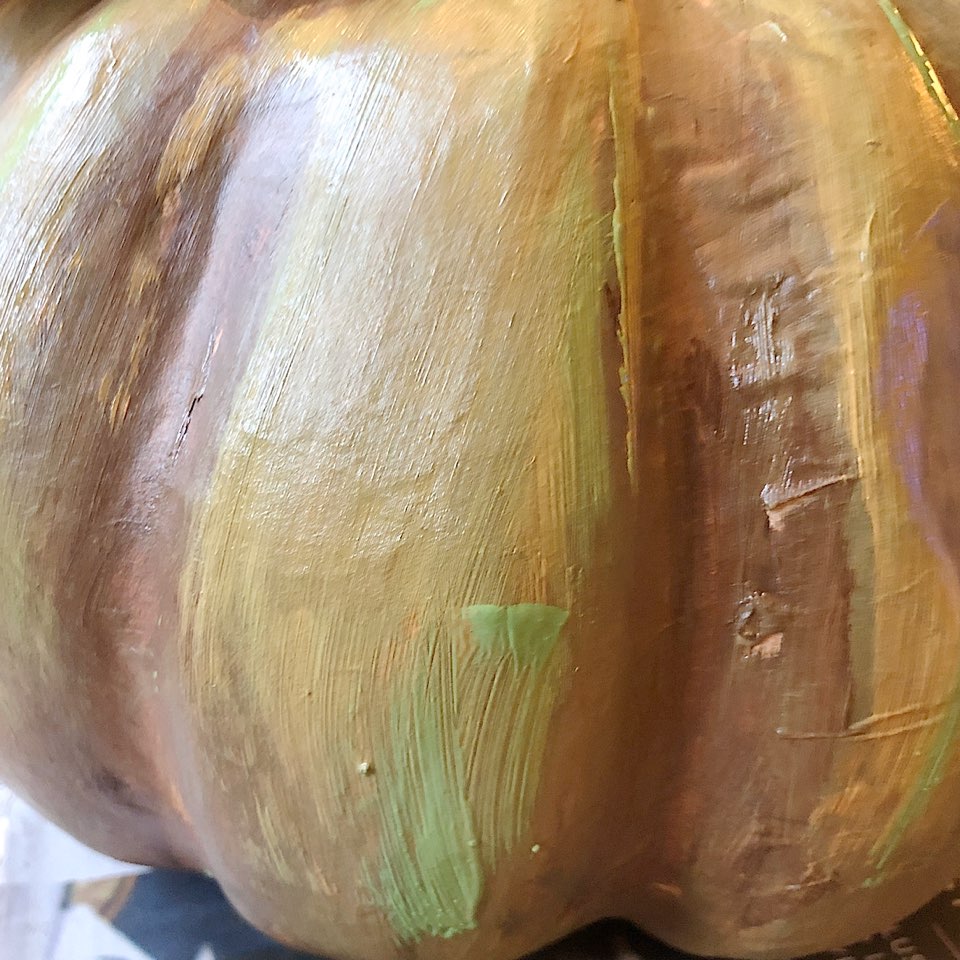
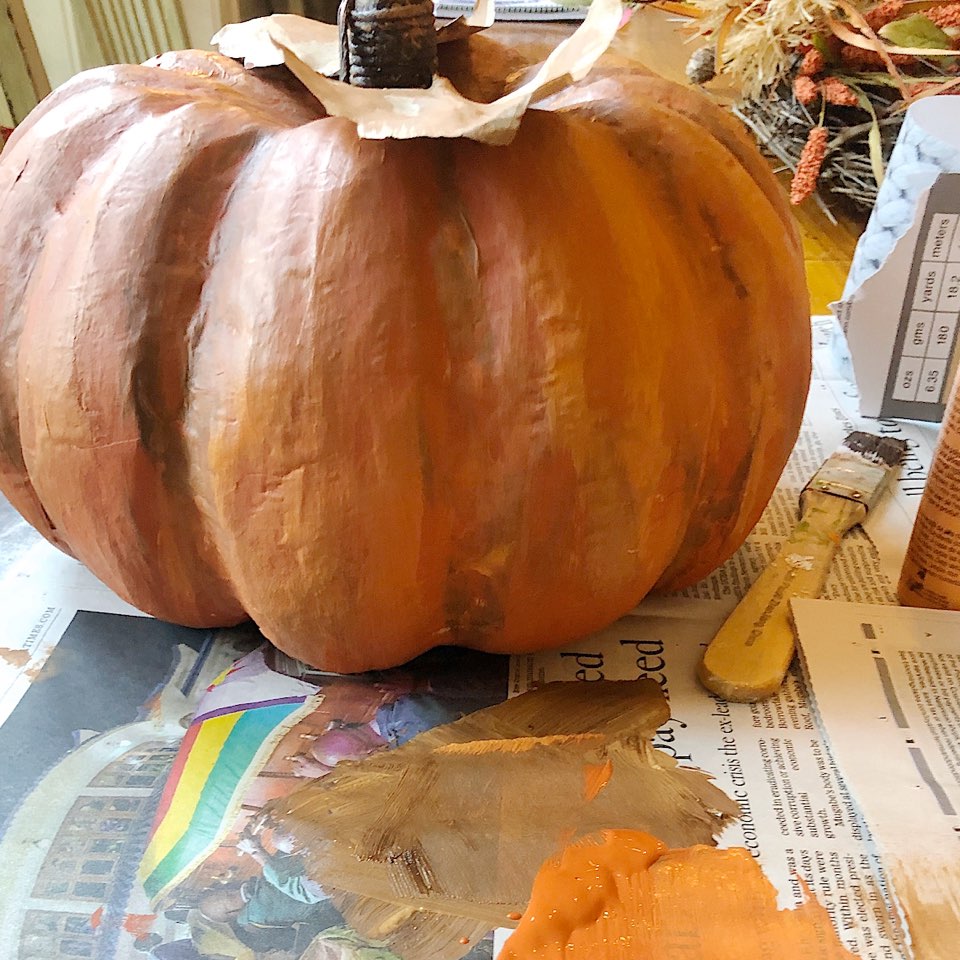 Next, add the lighter orange colors to the area of the pumpkin that extends out the farthest. This light paint will accentuate the shapes of the pumpkin! Try not to blend all of the colors. Paint it and let the colors show!
 -
Step 4
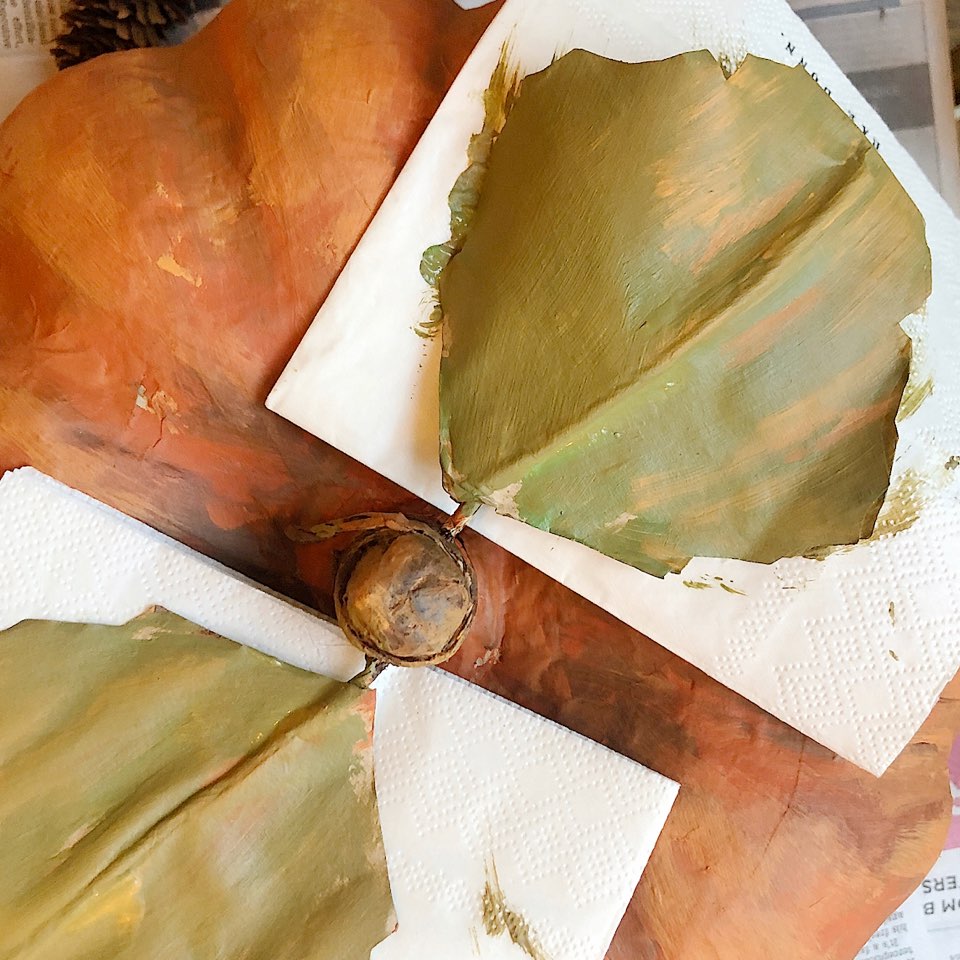 To paint the leaves, place napkins underneath and add green and some of the orange. I liked using muted tones.
 -
Step 5
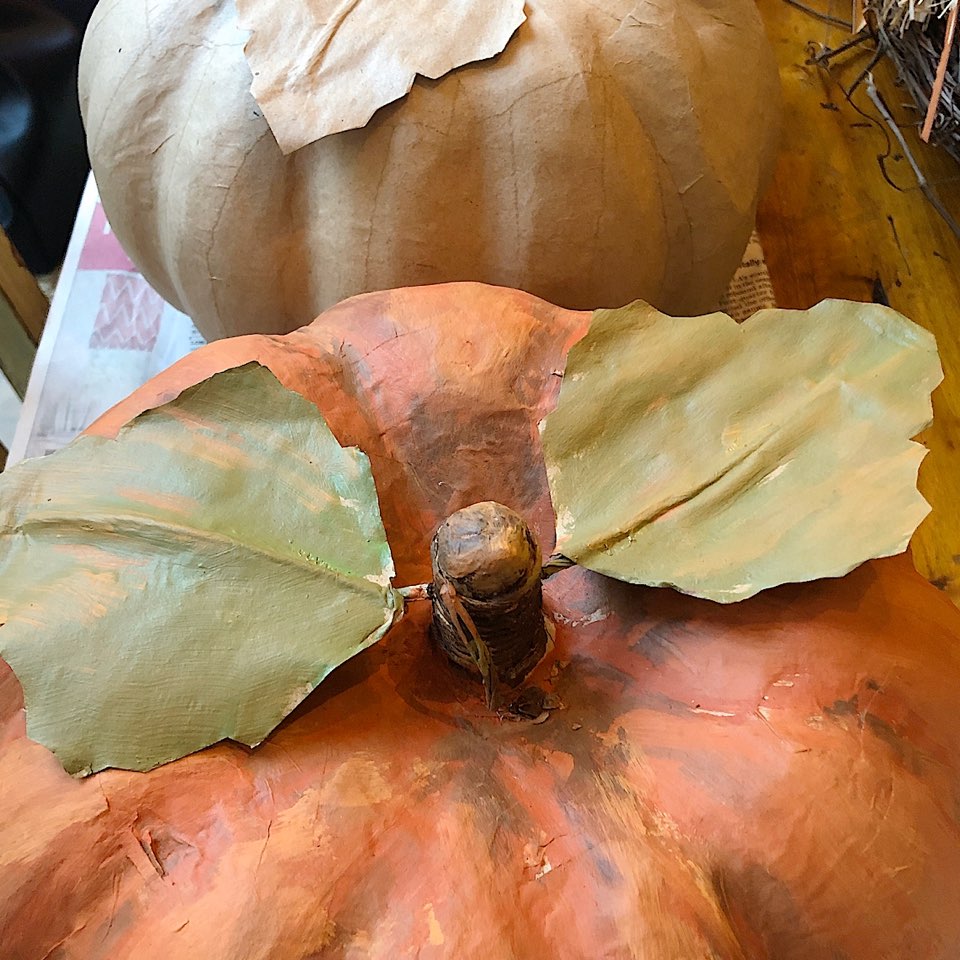 Here you can see the difference between the painted and unpainted pumpkins.
 -
Step 6
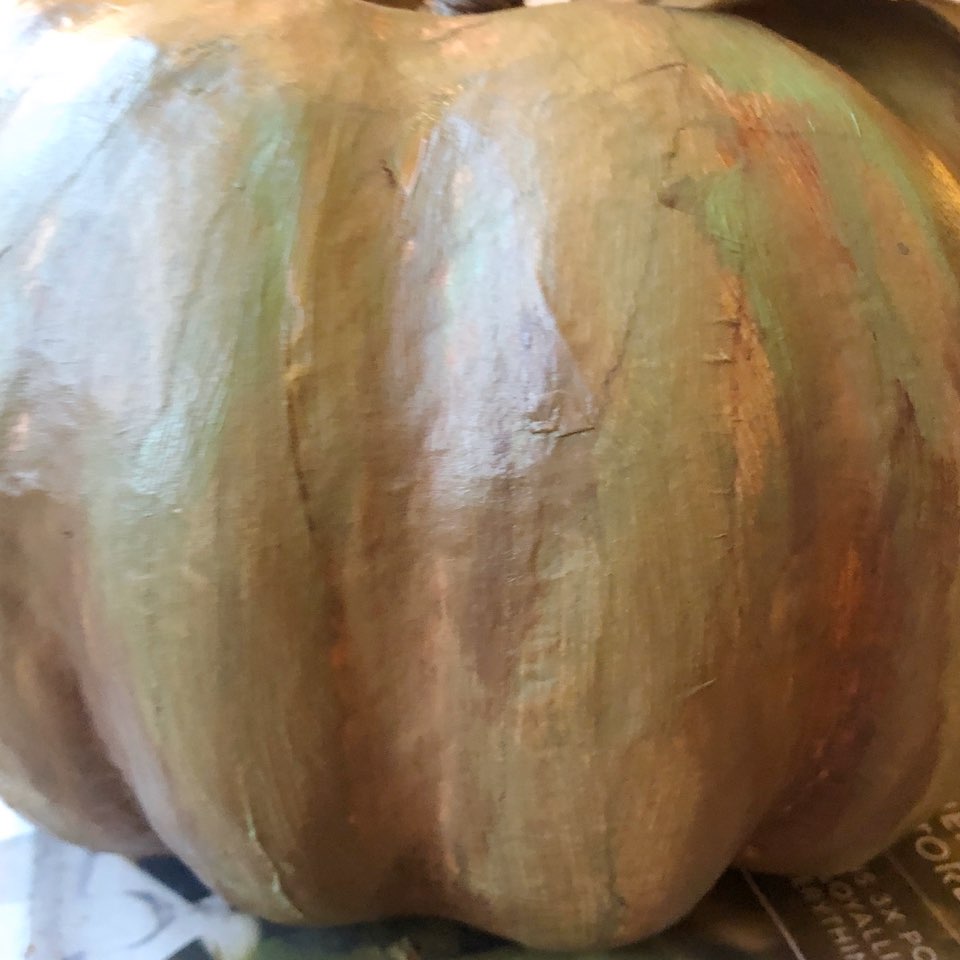
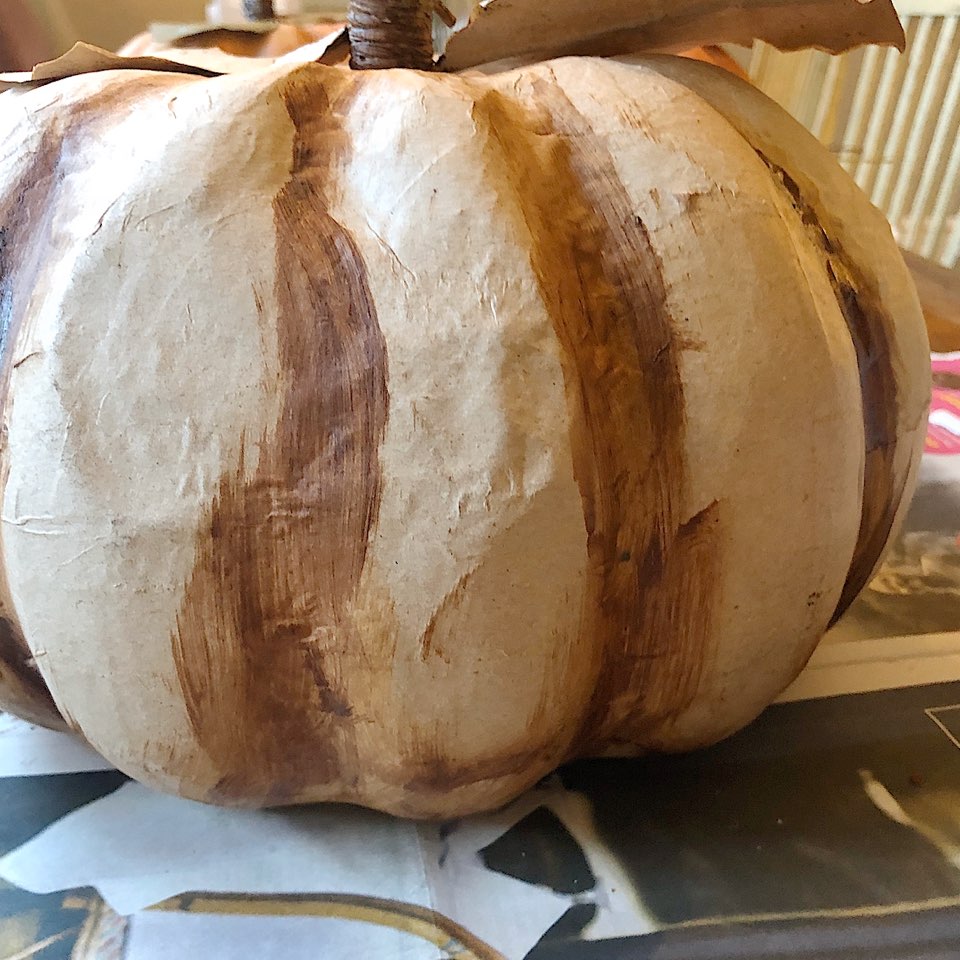 You can also start painting the pumpkin by adding in the dark shading first.
 -
Step 7
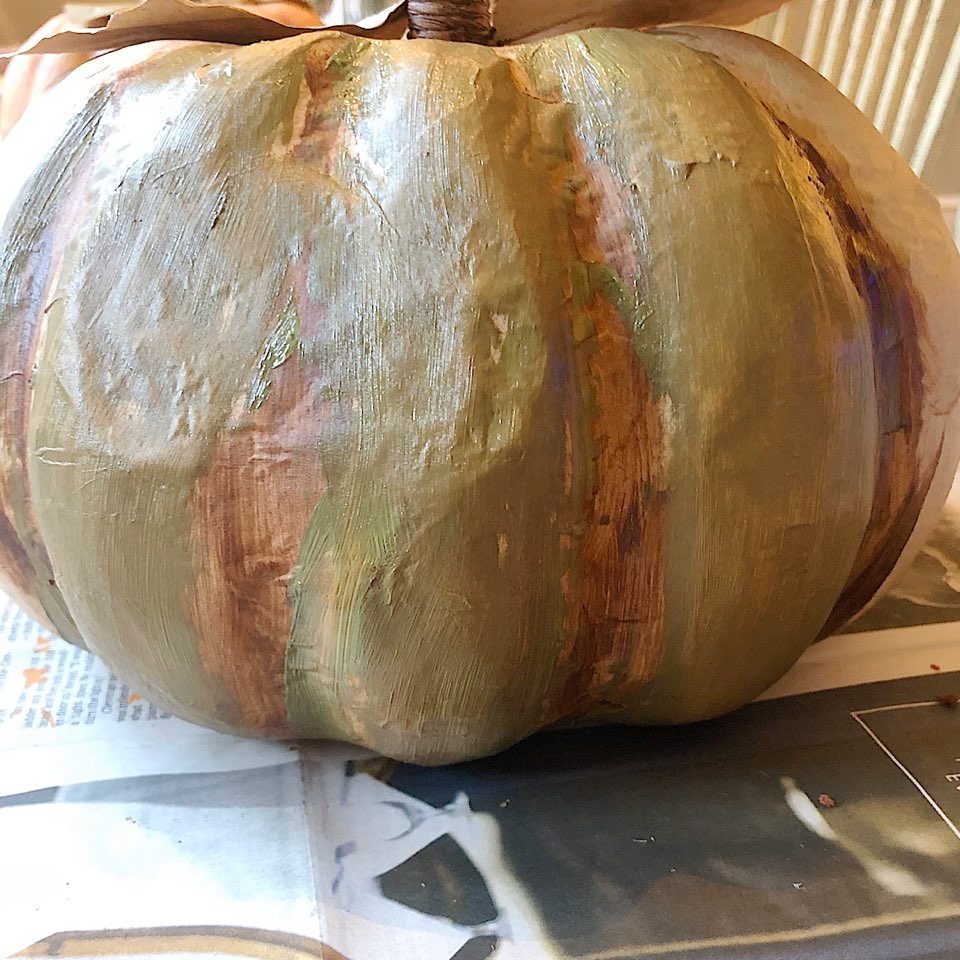 Next I added the green paint.
 -
Step 8
 And I added the highlights on the center of each panel on the pumpkin.
 -
Step 9
 The final step was to add a bit more paint.
 -
Step 10
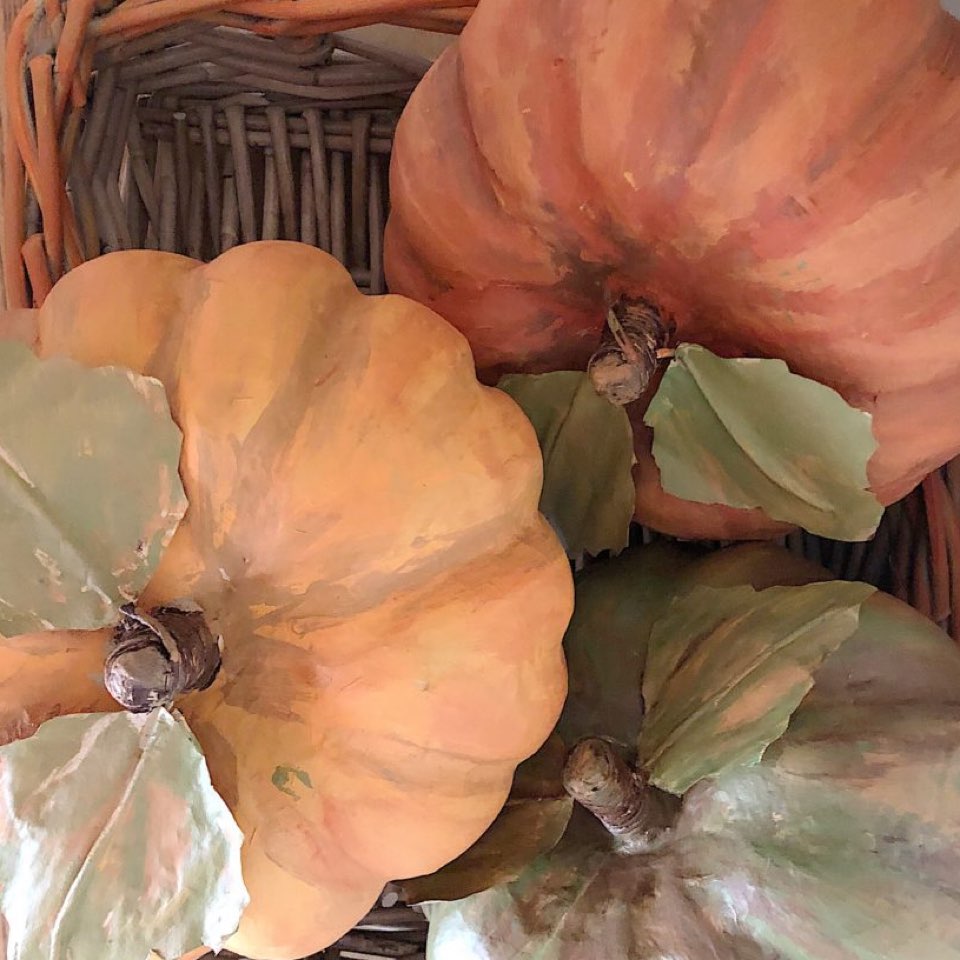
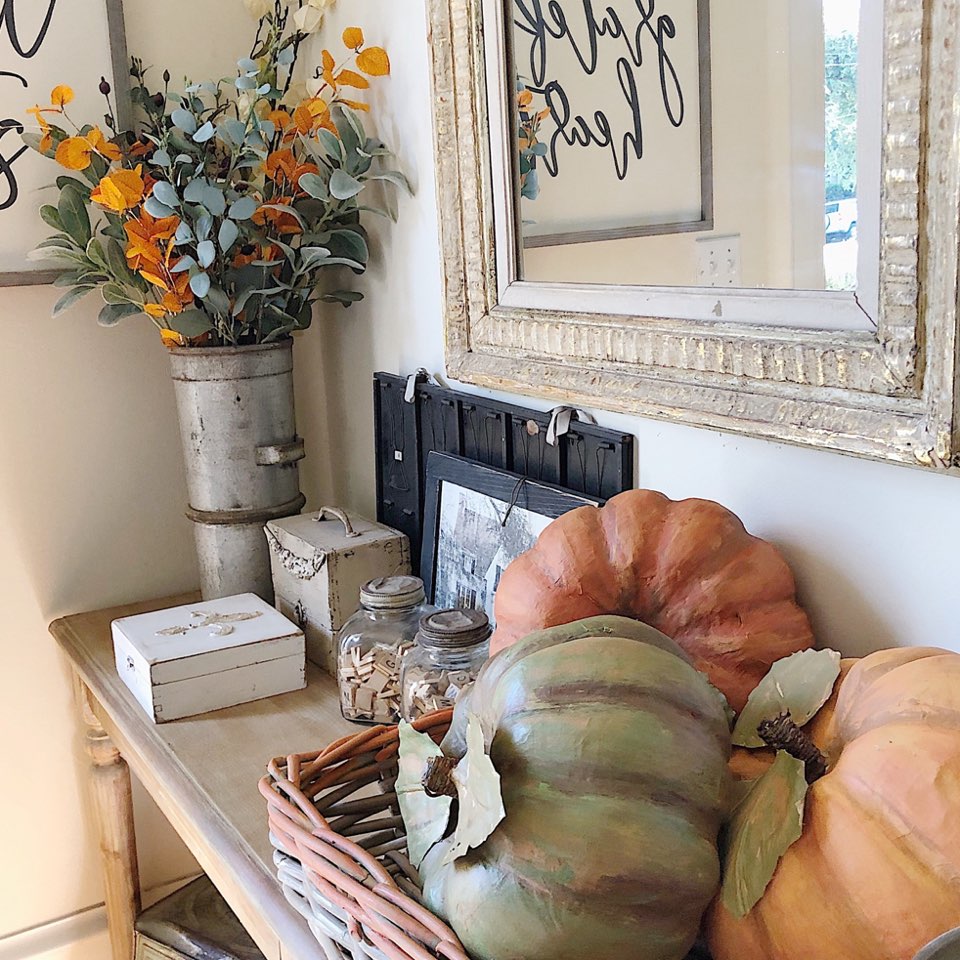 Don’t the pumpkins look great?
- Supplies
- Paper Mache Pumpkins
- Assorted Acrylic paints
- Paint brush
Get Inspired with JOANN